Donkey Kong – Cabinet re-art

Donkey Kong… one of my favorite classic games. I’m not good at it, I’m pretty terrible at the game play. But it was one of the favorite games (along with Centipede) from when I was younger. I’ve had the machine for 15 years now perhaps. I bought it broken, and repaired the monitor (which needs a bit more repair now.) The side art has always been bad, but it usually sat sandwiched between other games so I didn’t care.

During a black friday sale, Phoenix arcade had side art on sale. I grabbed a set. And it sat. For a long time. Finally motivation hit to get it done!

Partial art was present on left, and removing it was a PAIN. Goo gone and a plastic scraper is what it came down to. Rubbing alcohol also helps but the minute it evaporates the glue is fixed back in place. It took a lot of work.

I took lots of measurements and c-clamped stuff to the machine to help guide the art. That being said on the right I went a little quick, and had to peel it back and relay it down. This caused a small bubble in the art, smaller than a penny.

While I was at it I also took the opportunity to paint the base black. It was a re-creation done as the original one had deteriorated. I probably made the base 10 years ago and somehow it has held up, even though DK has been to MAGFest several times and a few events when I lived in Norfolk.

Anyways, here is a gallery:

Donkey Kong cabinet re-art

Dance Dance Revolution SuperNova 1 – Pad repair and upgrade

My trustly loved Dance Dance Revolution SuperNova 1 finally got the long deserved attention it needed.

I tore down al the pads, vacuumed out all the crud. All sensors were replaced. A number of years ago I went in with Anthony Capobianco and we ordered 64 sensors, then split it 32/32 to get a price break. I finally got around to installing the sensors, it was fairly straightforward.

I also cleaned all the CCFL tubes.

I also pulled the Python 2 hardware and put it on a shelf. I migrated to a PC. I will keep the P2 system to go with the cab but in the meantime running it with a different I/O interface and computer.

The machine plays so much better, the prior sensors were original and many of them didn’t respond well. The game is night and day. The cost for the sensors was quite a bit, and retrospect I could have potentially milked more life out of the old ones but wanted to do it right. And it’s done.

DDR refurb

Atari 1040ST Overhaul

MAGFest was donated an Atari 1040ST, and I decided to overhaul it to working condition. The Atari ST’s legacy is mostly in the music world, and I have some experience repairing mine.

First up power supply. Blown capacitor on it. Recapped the entire PSU with a kit from an online vendor. All is well.

Second up. She’s golden as movie theater popcorn. Retrobrite time:

Atari 1040ST retrobrite

Lastly, one of the spacebar stabilizers broke during the retrobrite process. I managed to CAD out a replacement in sketchup and printed it. I swear I searched thingiverse before making one but didn’t find one, but apparently I’m not the first. None the less I posted the file from mine on the site as well.

Atari 1040ST keyboard thing

Machine is working and made it to MAGFest 2020.

Arista switches, virtual-router not working

Arista switches with MLAG configured. Everything looks okay but the virtual-router isn’t pingable and/or working? Make sure you have a statement on both MLAG members of “ip virtual-router mac-address xx:xx:xx:xx:xx:xx” where the xx:xx:xx:xx:xx:xx is a mac address you make up. This isn’t on an interface, it is switch wide. Both switches carry the same mac address since it is used for fail over.

MBT-300 Haze Machine / Hazer, loud compressor

Some years ago I picked up what has always been my favorite hazer, a MBT-300. This machine has a lot of similar units sold under different names I believe, like Antari and such. HZ-300, HZ-350, etc.

After some time it developed an issue where it still worked but it was much much louder. Something was amiss.

Opened it up, and when running the compressor shook a lot. It sits on vibration isolation dampner things, which are basically a screw on each side of a rubber bit.

I looked up the specs from the Mfgr of the compressor, GAST I believe was the company. I got the info about what it should need as far as threading of the feed, but what I ordered would not work.

It turns out the proper thread is M6, not 1/4″. You can find M6 isolation things on eBay and the like. Cost was around $10 for 4, and this fixed the unit. Though it ran $20 since I bought the wrong ones at first 🙂

Atari 1050 Floppy Repairs

Super loads of thanks to the people on AtariAge.com for help on these!

Many moons ago I bought a bunch of Atari 8bit parts from the CHKD Thrift Store in Norfolk. I’m talking 15 years ago or more.

It turned out that all of the floppy drives were bad. I sat one them forever. Sold two for peanuts at the Vintage Computer Festival East, but kept back one that had a Happy 1050 enahancement, and one random one for spare parts just incsae.

So I pop open the Happy equipped drive, since that is cool and I figure that is the one I want to work. When I open the other drive and actually remove the shield around the CPU, I notice there is an ICD US Doubler enhancement installed! Whoot!

One drive had a bad WD IC, which I found by comparing chips. The other drive had an issue where it kept rebooting. I have already forgotten what I fixed. Phew.

The replacement WD chip required that I re-calibrate some things, once again documented on AtariAge.

Post on AtariAge:
http://atariage.com/forums/topic/291001-troubleshooting-1050-w-happy/

Atari 130XE, Bad RAM, Won’t pass memory test. Plus failed keyboard!

Somehow, somewhere I achieved a 2nd Atari 130XE home computer. This is the more advanced version of the first computer that I started on – the Atari 800XL. I really liked the Atari 800XL, it was a sleek computer and looked better than the Commodore 64.

At some point I had a 65XE but can’t seem to find it, but was confused when I found the 130XE that didn’t work. I think maybe my buddy Cyberflux gave it to me — I’m not really sure. Anyways, we can’t have broken stuff taking up space so the idea was to fix it.

RAM Issue

First things first, the machine started up straight into memory test. ROM passes, RAM fails. Most of the RAM fails. I look up videos on youtube, and theirs seemed to have the same crazy pattern with most of the RAM bad. I ordered some replacement chips, and tried a trick I read about of piggybacking a good IC on the bad, walk thru them and find the failed one. That didn’t work for me, I think there was two bad ICs. The chips on the left are the lower 64K so try to fix those first. I used a Hakko 808 to desolder the RAM chips 2 at a time and socket them. I put two new chips in, then moved the other two down. Eventually the last two chips brought the machine to life and it booted straight into basic.

I used a SALT cart to test the RAM. All is good.

But the keyboard….

The keyboard had something spilled in it. The machine looks great from the outside, but keyboard spill damaged the keyboard membrane. This mylar sheet has contacts that mate to the keyboard keys. The mylar looked good, but tested bad. At the edges of the contacts it deteriorated where it’s between two sheets. Repair would be daunting, since there was at least 15 bad spots on the thing:

I contacted BEST Electronics, but didn’t notice the email timely. I bought a replacement (mine is a mitsumi keyboard, however the mylar did not say mitsumi or have a part #?) The replacement was around $30 shipped. It feels less thick than the original which worries me long term, but it works 100%.

With these two things fixed, the 130XE is 100% working.

In the process I also ended up repairing two 1050 floppy drives and built a SDrive-MAX! More on that next posts.

B-Sides Charm 2019

ATGeek and I got to handle Audio and Video for B-Sides Charm 2019 in Towsen, MD. Great fun was had! Music acts were three artists well known to us: Inverse Phase, Mikal kHill and Wreck the System. The talks of the event were interesting, and overall it was a fun con. Some things are likely to change for next year as things are tweaked. Overall, a fun time!

The picture above is Inverse Phase on stage.

Elation AR-32RM DMX-512 show playback controller, repair and software driver issues

Elation AR-32RM repair, software

Story time….

So a friend and myself volunteered to do lasers, sound and lighting for an upcoming IT security conference. Seems cool. We get up balls early to drive to Towsen MD to do a walk through on the hotel and try to get the ability for fire watch and haze for the lasers (denied by hotel. Sigh.)

On the way back we stopped by the MAGFest warehouse, another event we volunteer with. Right near the warehouse is this music store (drums/guitar/keyboard/perc/pa) that has a lot of new and used music equipment. I always like to peek at the keyboards and Rob wanted to check out the PA subs. I see this unit in the racks of random bits, an Elation AR-32RM. Maybe Rob spotted the DMX connectors. Not sure. I had been thinking about looking at the OLA software on Linux or Pi/Arduino for instant playback to some RGB LED wash lights I got from a deal back in the Norfolk VA days.

This thing is pretty broken. The welds that hold the front on were broken off, so someone used thin strips of gaffers tape to hold it together. No way, I think. Last time I was in this store drooling over some old Roland analog rack synth they quoted eBay fully working prices, but it was worth a shot. “Hey man, would you take $20 for this thing? It’s pretty broken but I might have a use.” “$20 if I never see it again, no warranty” “Oh yea, deal man.” $20 in the hand, $20 in his drawer, the next step we were out the door.

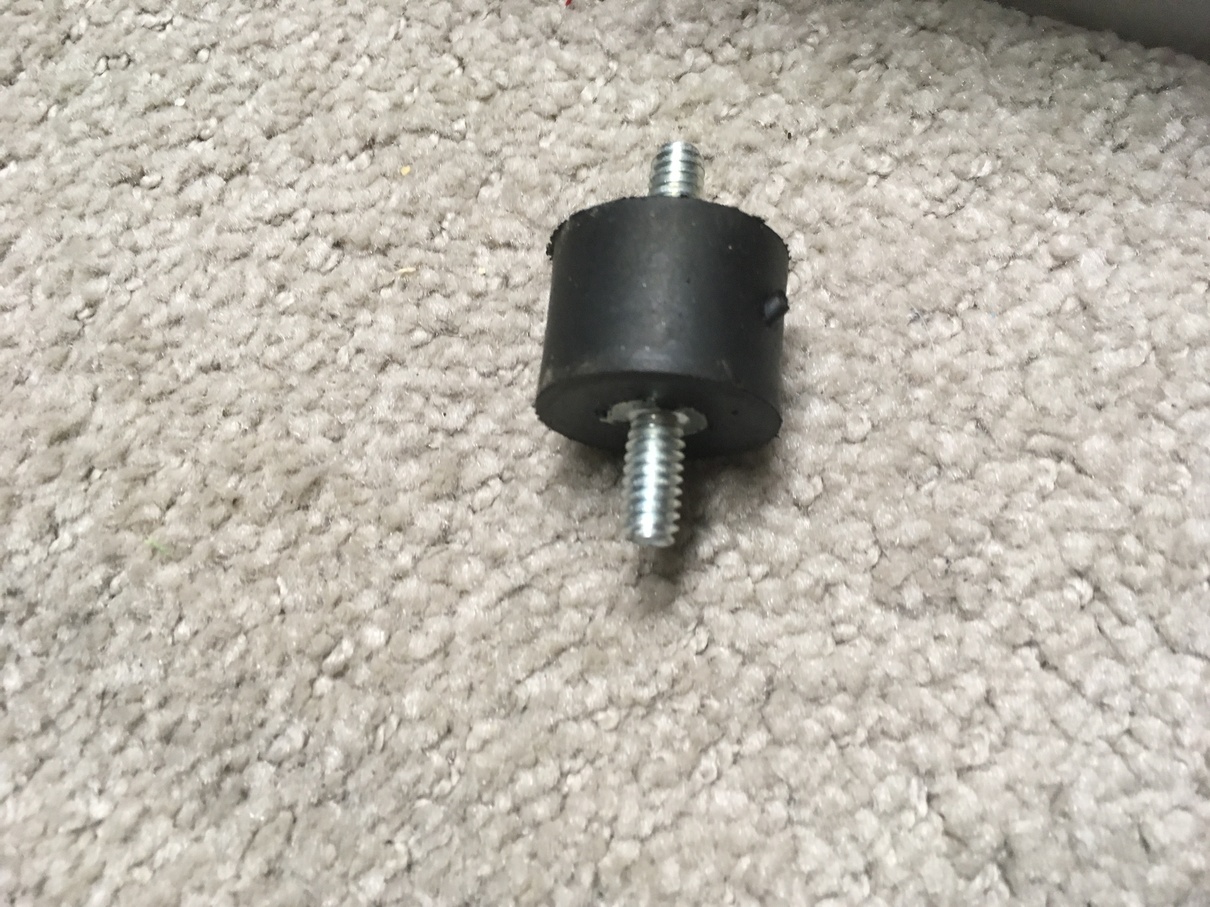
Two nice black cap head screws and nuts, some time on the drill press and some luck…. good to go! Looks pro! Getting the stupid gaff tape gum off was more work then fixing the damage, goo gone was no match. Magic eraser seemed to work best.

Last step…. the software!

The software is BROKEN!

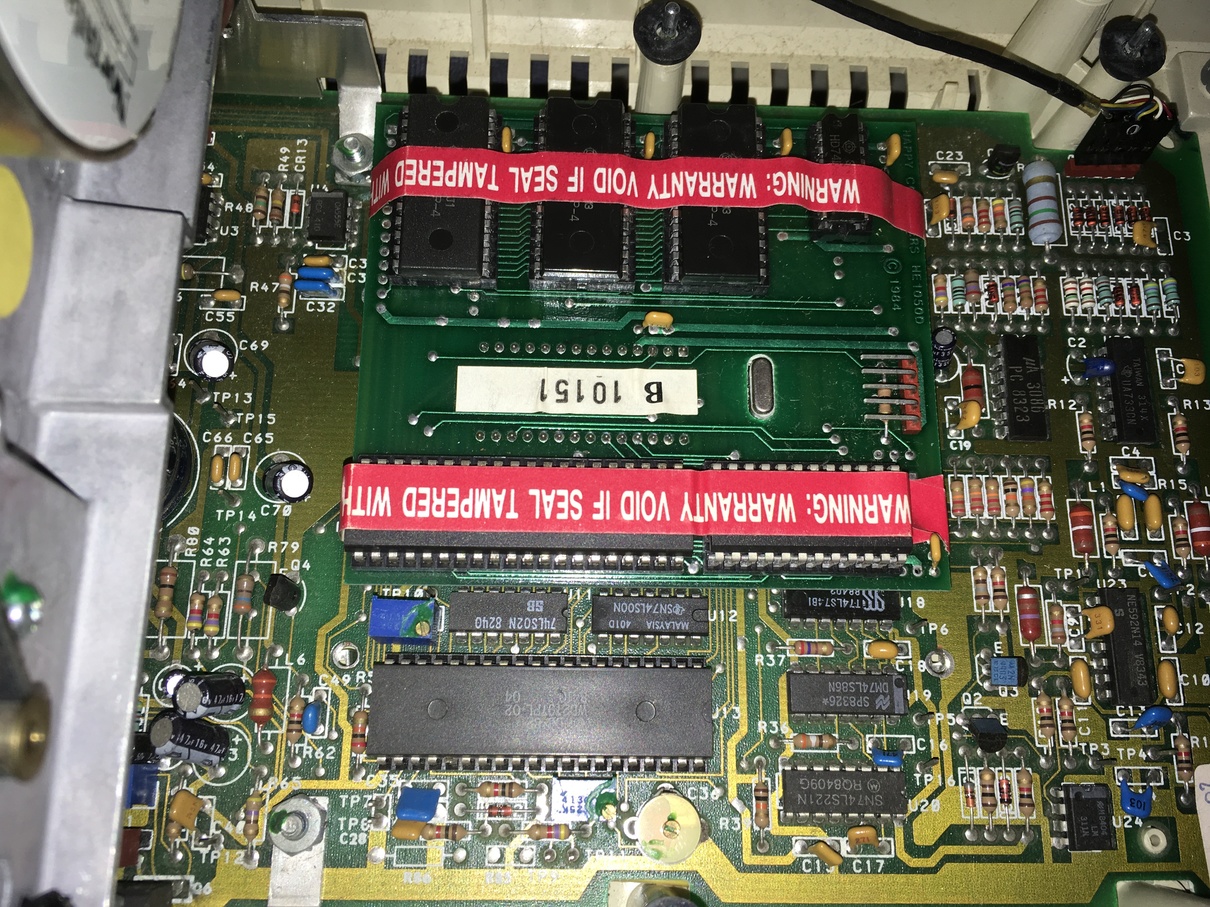
So, after downloading the software distro and digging out some old laptops I found that the Windows 32bit drivers… are broken. Off to the 64bit drivers… which are… broken. After all the work to get the thing looking good, and with the DC Dive Show around the corner (where I plan to use it) the clock was ticking. I emailed Elation but didn’t catch a response. I decided to dig a bit.

The drivers portion of the software contain a FTDI driver, which is pretty common. But the vendor ID from the unit doesn’t match the driver ID in the INF files from the FTDI driver. By changing the vendor IDs in the driver files to match, it made it work. I was able to get the software to work on both 32bit Windows running on a physical laptop, and Windows 10 64bit running in a VM. The thing is, it might have broken FTDI support for other things, I’m not really sure about that part. I will try to post the driver bundles soon but WARNING … I fudged it to make it work, no idea how proper things are or what will happen to other hardware that uses FTDI. A friend thinks you can edit the device ID and vendor ID with some tool and just make the thing use a normal FTDI driver but not sure on that.

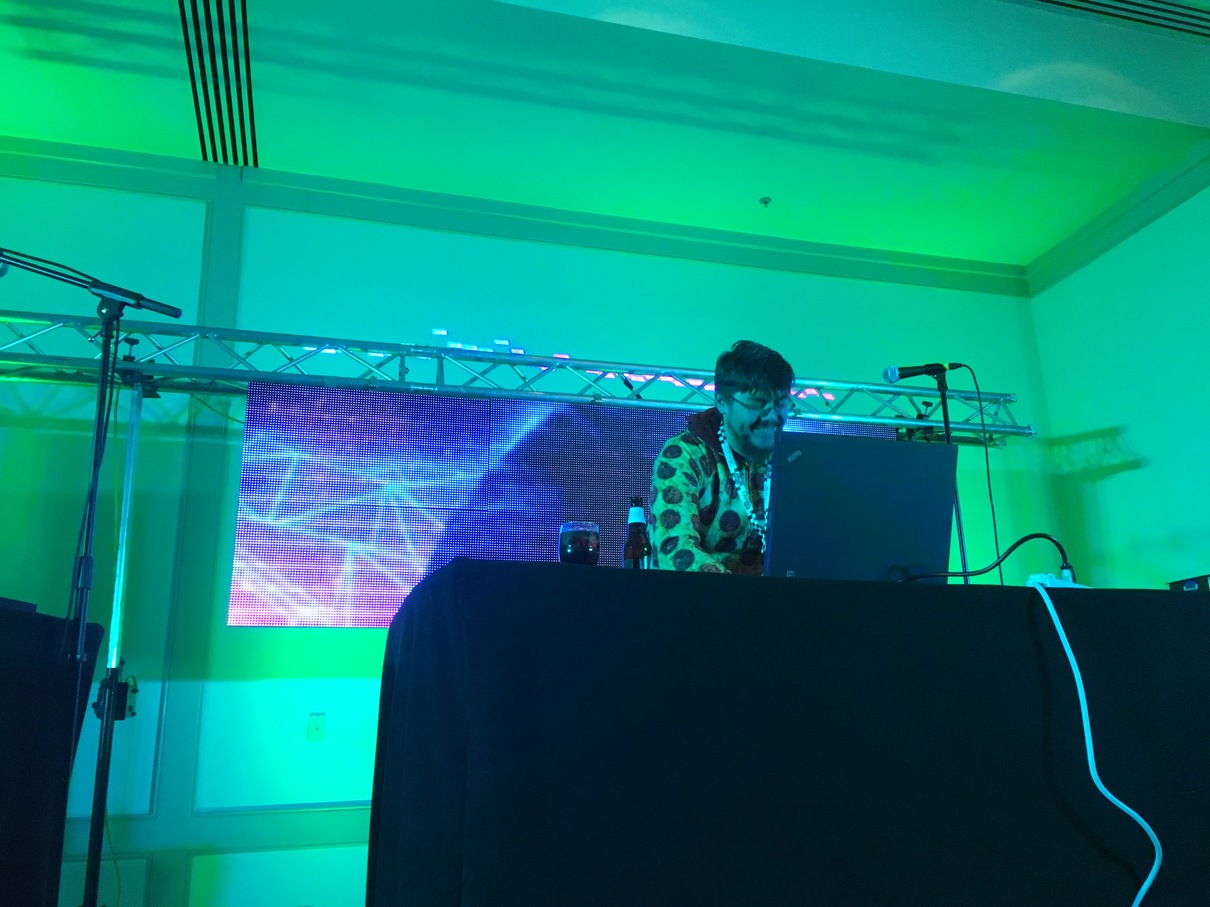
Overall I was able to overcome limitations and get the unit recording some DMX sequences from Freestyler/Entec OpenDMX. The unit works pretty well, but there is a timer that is global not per sequence which is really annoying. But happy with the unit, and it will come in handy in driving Color Kinetics lights without a sexy City Theatrical power supply but with the PDS-500e supplies that I have.

It’s possible that some of these units have a different set of IDs? I tried archive.org and got some earlier revisions of the software and the drivers from those failed to work also.

Williams Pinball ASIC Troubles – Twilight Zone (WPC)

WPC ASIC socket replacement

From the world of arcade repair… as the cold of winter hit a few of my pinball machines started acting up. On game nights with friends, it was creeping up to a 75% failure rate! Ouch!

This one took me for a bit of a ride. Twilight Zone was getting random resets. Sometimes, I was getting audio and graphics errors, as if the ribbon cables between CPU and Audio PCB needed reseating. But things weren’t adding up. It turns out that tapping the ASIC chip would cause all sorts of issues.

I attempted to do a sloppy job prying out the ASIC and cracked one corner of the socket. My goal was to carefully deoxit the legs of the IC and maybe pins of socket. Oh well. Found some sockets on eBay, ordered them and thanks to Hakko 808 desoldering tool it took about 15 minutes total to remove the old ASIC socket and solder in the new one.

So far, things seem good. I won’t believe the game reset issues are solved — that seems to be an issue with the AC input connector on the power driver board, but time will tell.